Google has announced that from early 2026 you will no longer be able to add new POP connections and by the end of 2026 existing POP3 access will cease. Free Gmail accounts let you read mail from your professional address via POP3, but this feature is being withdrawn by end of 2026. The good news is that all messages already downloaded via POP remain in your inbox. The withdrawal is driven by security concerns over the more favourable IMAP.
Most businesses reading this will already have a professional email address (for example, John Doe uses [email protected]) that is currently being pulled into a personal Gmail account like [email protected] via POP3. This setup has worked for years, but recent changes mean POP3 access is being restricted, which is why this upgrade is now necessary. Moving to Google Workspace gives you a fully hosted mailbox at your own domain, removes the reliance on POP3, and keeps your existing Gmail history intact without re-importing years of old emails. This guide walks you through the process step by step. While this article focuses on Google Workspace, the same principles apply if you choose alternatives such as Microsoft 365 (Outlook) or Zoho Mail.
While this guide focuses on Google Workspace, the broad steps apply to any hosted email provider. Platforms such as Microsoft 365 (Outlook), Zoho Mail and other managed services require you to verify your domain, update MX records and recreate your addresses as aliases or users.
⚠️ Important:
I recommend only beginning this transfer when emails are likely to be quiet. None should go missing during the process, but it’s best to reduce any crossover.
Why Do We Need To Upgrade Now?
- POP3 is being deprecated – Google will stop supporting the “Check mail from other accounts” option in Gmail. If you do nothing, your professional email may stop arriving.
- Security and reliability – POP3 sends passwords in plain text and doesn’t support modern authentication. Workspace uses secure protocols and offers spam and malware protection.
- Business features and storage – If you already use a custom domain via POP3 you have a professional address but none of the extras. Workspace adds shared calendars, video meetings and file storage. Even the entry-level Business Starter plan supports one user with up to 30 email aliases and gives you 30 GB of storage per user.
- Future-proof – migrating now avoids a last-minute rush when POP3 access ends. You retain control of your data – all previously downloaded messages remain in Gmail.
Benefits of Google Workspace
Upgrading to Workspace keeps everything in one inbox while giving you:
- Aliases for multiple addresses – one user can have up to 30 aliases, so addresses such as info@, sales@ or hi@ all deliver to the same inbox at no extra cost.
- Multiple domains – you can add more domains to the same account if you have multiple businesses
- More storage – Workspace plans include generous cloud storage. Business Starter provides 30 GB per user, while Business Standard increases this to 2 TB per user and adds extra features. This is a significant upgrade from the limited space available to free Gmail accounts.
The rest of this guide explains how to migrate from POP inbox to Workspace without losing mail or pulling in years’ worth of old messages.
Step-by-step Upgrade Guide
Migration Checklist:
- Remove all existing POP3 accounts from Gmail
- Sign up for Google Workspace using your existing account
- Select “Send emails” during migration
- Add the TXT verification record to your DNS (or get us to do it!)
- Verify the domain in the Admin Console
- Update MX records and activate Gmail (or get us to do it!)
- Add required email aliases
- Configure “Send mail as” in Gmail
- Add any secondary or alias domains
- Check all website contact forms
- Check emails send and receive from gmail
Detailed Steps:
1. Audit your current Gmail and remove POP3 fetchers
Before you start, sign in to your existing Gmail account on the web and go to Settings → Accounts and Import → Check mail from other accounts. Remove every POP3 entry. This stops Gmail from re-downloading old messages when POP3 is removed and ensures that only new email comes into your Workspace inbox. Deleting a POP account here does not delete messages already fetched.
Tip: also remove any unnecessary entries in Send mail as, so you can rebuild send-as addresses later using Workspace aliases.
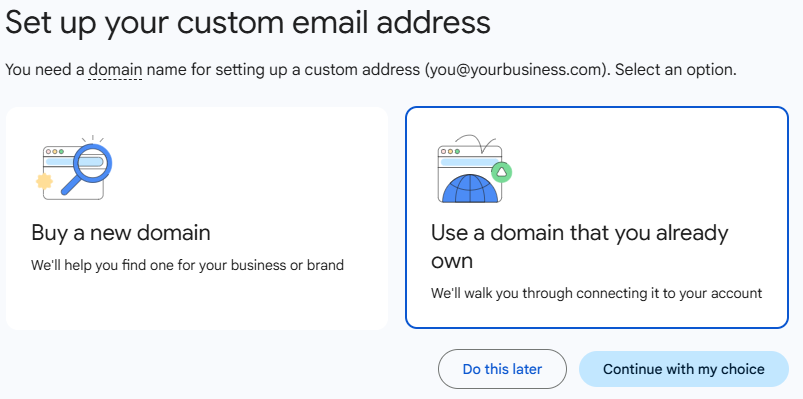
2. Choose a Workspace Plan and Sign Up
For most businesses, Business Starter is the right plan. It gives you one user and up to 30 aliases. Use your existing Gmail login to start the upgrade – Google converts your account in place. When prompted to create a username, you may need to pick a temporary name if your desired address is “reserved”. You can rename the user later.
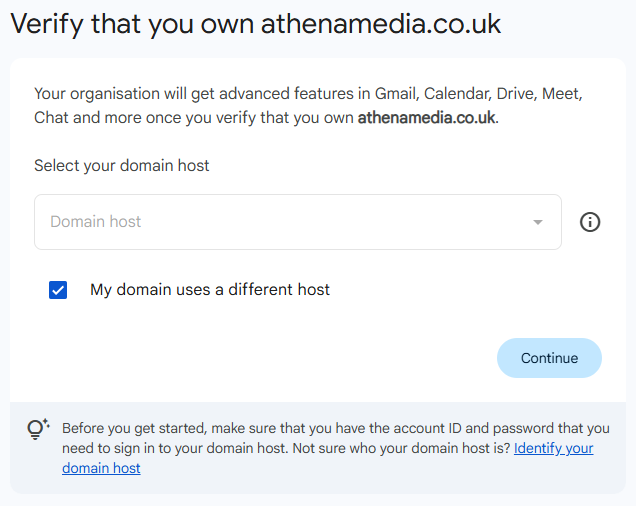
 3. Verify your Domain and Add the TXT Record
Google must prove you own your domain before it can deliver mail. The admin console presents you with a unique TXT record for verification. You’ll need to choose “My domain uses a different host”. Copy the google-site-verification value and send it to me. Once I’ve added in your custom TXT record it will confirm the ownership.
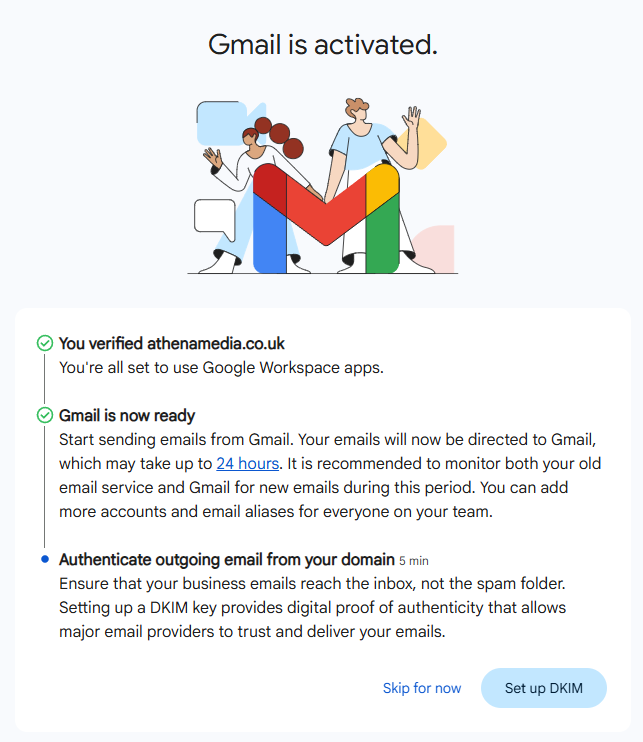
Head back to the Workspace setup wizard, click Confirm to let Google check for the TXT record. Once verified, Google will prompt you to activate Gmail for your domain.
4. Activate Gmail and Update MX records
Once your domain has been verified, Google Workspace needs to take over handling email for your domain. This is done by updating your MX records.
At this stage, you have two options:
- Update the DNS records yourself, or
- Send the required records to us (or your web developer) and we’ll apply them safely on your behalf.
If you’re unsure, we strongly recommend letting a developer handle this step – incorrect MX records will stop email from working entirely.
⚠️ Important:
If your DNS is managed via Cloudflare, MX records must be set to “DNS only” (grey cloud). Orange-cloud/proxied records will break email delivery.
Once the MX records have been added (either by you or by us), allow time for them to propagate. Then return to the Google Admin Console and click Activate Gmail. From this point onward, emails sent to your domain will arrive directly in Gmail rather than being pulled in via POP3.
5. Add Your Existing Addresses as Email Aliases
You do not need to create extra users for further email addresses like info@, sales@ or hello@.
Instead, add them as email aliases on your main user account.
In the Admin Console:
- Go to Users
- Select your user
- Open Alternate email addresses
- Add each required address (e.g. [email protected], [email protected])
Aliases allow you to send and receive from multiple addresses in one inbox and do not incur any extra licence cost.
If you have another domain that only needs alternate addresses (for example, matching the same names), it can be added as a user alias domain – this is usually the most cost-effective option.
6. Configure “Send mail as” in Gmail
After aliases are added, Gmail needs to be told how to send from them.
In Gmail:
- Go to Settings → Accounts and Import
- Under Send mail as, click Add another email address
- Enter the alias address
- Tick Treat as an alias
- Complete the confirmation step
Once set up:
- You’ll be able to choose the correct From address when composing emails
- Replies will automatically send from the address the message was originally sent to
This ensures everything behaves exactly as your old POP3 setup did – just without the risk.
Tips and Common Pitfalls
- Do not re-enable POP3 fetching
Remove all “Check mail from other accounts” settings. Your existing emails are already in Gmail. - Choose the correct domain type
Alias domains are free and ideal for most setups. Secondary domains are only needed for different address structures. - Never proxy MX records
Especially in Cloudflare – MX must always be DNS-only. - Avoid creating extra users
New users add monthly costs. Aliases achieve the same result for free. - Check all connected services
CRMs, booking systems, newsletters and contact forms may still reference old POP3 or SMTP settings. - Allow DNS time to propagate
Changes can take up to 72 hours (often much quicker). Avoid making multiple changes during this window.
